Steps to cutting a mat
- Drawing a mat (nothing fancy, just sketch it)

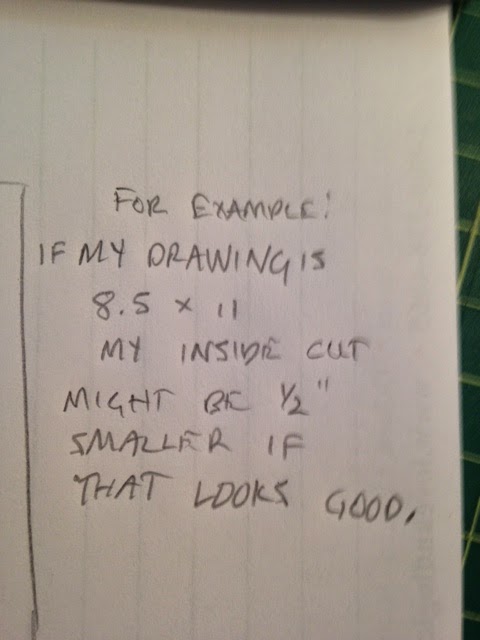
- Determine the inside measurement of your mat by one of two ways: either subtracting ½ from each side of your image OR by laying out scraps to see what would look the best. Then write the measurements on your mat sketch.

The inside of your mat must be smaller than your picture or your image will fall right through the opening!
- Choose how big your mat width will be (usually 2 to 3 inches looks nice).
- Determine the outside measurement of your mat and write it on your mat drawing.

In this example, the outside measurements will by 16.5 " by 14 ". Yours could be different if your image is a different size!
- Cut the outside measurement first
- Measure along the sides and mark height and width
- If using poster board (cut outside with paper cutter)
- If using mat board (cut outside with large mat cutter)
- Cut the inside measurement using the mat cutter
- Set the measuring bar to the correct distance
- Draw the measurement with a pencil
- Carefully cut the inside cut, SLOWLY.
SOMETHING EXTRA for Art I Value Portrait assignment: Language of line mat
Teaching Goal: Show a beginning understanding of positive negative space by creating an interesting negative space with lines of railboard. The lines will represent your personality.
- In your sketchbook: write down three words that describe your personality. i.e. calm, active, happy, intellectual,
- Draw a line that represents that characteristic.
- Pick the line you like the best.
- Using the back of a canvas panel as protection, cut 5 of the same type of line. The lines should not be thicker than 1/4 ".
- Put your cut mat on your portrait and arrange the lines using at least 3 and up to 5 to compliment your portrait and to create an interesting negative space. Get feed back from another student.
- Tape the lines into position.
- Then tape your portrait onto the mat making sure it fits in the opening.
No comments:
Post a Comment